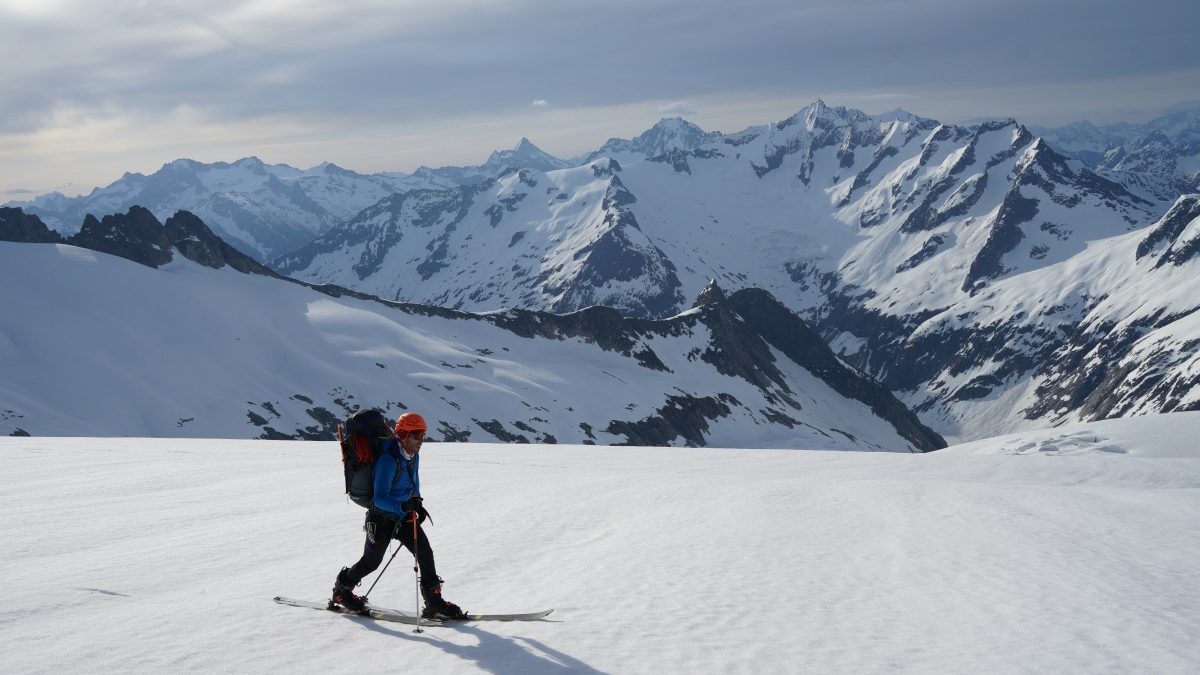
Stride by stride, strength training will benefit your backcountry skiing. Photo: Jesse Charles.
This is part two of a three-part series on ski specific fitness as we transition into the winter season. You can read part one here.
Here’s the funny thing about strength: we need it everywhere, but when we think about training strength, our minds typically draw up images of yoked beefcakes in a LA Fitness, tossing plates around to a thumping heavy metal soundtrack. And yet, the development of strength is multifaceted: it takes place on the trail, in the skintrack, and can even be built in your living room. If you’ve been neglecting focused strength workouts all year (you’re not alone), now is the time to make peace with the kettlebells and pull-up bar. In this transition time between fall and winter, it’s essential to prepare your body for the work of setting bootpacks and lugging multi-day packs across the Kahiltna.
Non-specific vs. Specific
Many of the activities during the dryland months offer significant strength contributions to ski touring and skimo racing. Mountain biking provides a good measure of power when charging up climbs, especially the short, steep sections. Descending in a dynamic position with the seat dropped creates a somewhat analogous load to skiing on the legs as you bank and navigate corners. Running, obviously, looks most similar to ski touring, and allows you to ascend steep terrain and engage the posterior chain muscles to build comparable strength for skinning. And more so than mountain biking, running provides the upright movement and places greater demand on the core to hold up your frame, a crucial component for touring and skiing.
If you’re an active yogi, you’re part-way there; maintaining good mobility is a great foundation for building strength. Not into bend sessions on a soft mat? Start doing a daily routine of basic stretches and poses; check out this video for an easy 10-minute session you can follow to limber up. Maintaining your strength training program is often hard to do while running, biking, or climbing around in the mountains all summer, so now’s the perfect time to add a few sessions of lightly-weighted conditioning exercises in the gym before ramping up the efforts. Remember that training for endurance sports, including strength components, is not rocket science. It should be progressive, it should be gradual, and it should move from general movements to specific movements.
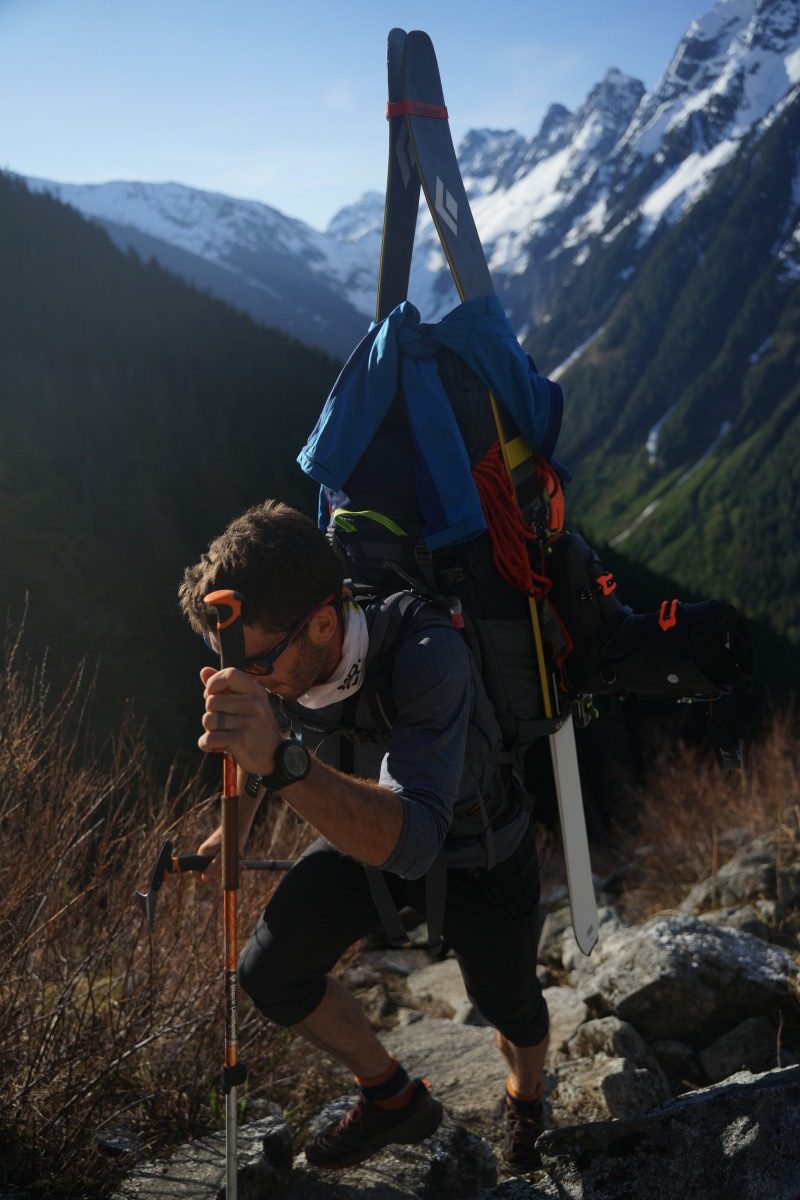
Building fitness in the early season will make those big spring traverses more tolerable. Photo: Jesse Charles.
Phase I: Foundation and Core
The first step to any strength progression should be establishing good movement patterns for durability and range of motion at key joints. Equally important is solidifying your core, particularly the transverse abdominis and internal and external obliques. Start with two strength sessions per week, employing exercises that focus on these areas. As an example week:
Session #1:Tuesday-Foundation and Mobility
Warm-up: 15 minutes of easy aerobic activity
Part 1: Core
Complete 2 circuits of 10-12 repetitions (or a 30-45 second hold for isometrics like plank) of the following exercises. Add weight as needed to make each set challenging but doable with good form.
-Windshield wipers
-Push-ups
-Kayakers
-Turkish Get Ups
-Front plank
-Bird dog
-Mt. Climbers
-Hanging knee/leg raises
Part 2: Functional Movement
Complete 3 circuits of 8-12 repetitions of each exercise (per foot, where applicable). Add weight as needed to make each set challenging but doable with good form.-Box step-ups
-Air squats
-Single-leg Romanian deadlifts
-Forward lunges with twist
-Shoulder flys, frontal and sagittal planes
-Reverse lunges with twist
-Cool down with 10–15 minutes of easy aerobic activity.
You can find more video demos here.
Session #2: Friday – Core Foundation
Warm-up: 15 minutes of running, hiking, or biking at easy effort. Complete 3 circuits of 10-12 repetitions (or a 45-60 second hold for isometrics like plank) of the following exercises:
-Windshield wipers
-Push-ups
-Kayakers
-Front plank
-Side plank
-Bird dog
-Mt. Climbers
-Hanging knee/leg raises
-Cool down with 10–15 minutes of easy aerobic activity.
As you can tell, this first progression of exercises in both cases involves pretty straightforward work. The goal is to establish stability, mobility, and functional strength in key areas before increasing the load later on. Remember to add weight to all these exercises as you progress them, as the next iteration of workouts will involve moving larger loads, for which you’ll want to have good form and basic strength.
Between these workouts, you should be doing regular aerobic sessions to apply this burgeoning strength to ski-specific movements, such as uphill hiking or ski imitation drills, trail running, etc.
Phase II: Max Strength and Explosive Work
After dialing in the exercises above and your gym routine, it’s time to turn the screws. This next strength building stage incorporates max efforts in the gym setting, combined later in the week with specific plyometric movements outdoors on steep hills. It builds on the functional foundation you’ve established by recruiting more of the available motor units in the working muscles to do the specific work. All this increases your “pool” of resources for skiing and further develops crucial durability to prevent injury. That said, it’s critically important you DO the functional work preceding these workouts, and be attuned to how your body feels when embarking upon them. Warm up well! These more explosive exercises can lead to injury if the body isn’t ready for them or if you’re starting cold.
Session #1: Tuesday – Max Strength in Gym
Warm-up: 15 minutes of easy aerobic activity
Part 1: Core
Complete 2 circuits of 10-12 repetitions (or 45-60 second hold for isometrics like plank) of the following exercises. Add weight as needed to make each set challenging but doable with good form.-Windshield wipers
-Push-ups
-Kayakers
-Front plank
-Side plank
-Bird dog
-Mt. Climbers
-Hanging knee/leg raises
Part 2: Max Strength
Complete 4 sets of 5 repetitions of each exercise, circuit-style. Employ as much weight as you can manage with excellent form. Rest at least 2 minutes between exercises.-Box step-ups
-Push-ups (use a weight plate on your back or a weight vest, as needed)
-Romanian deadlift (two-legged)
-Back squat
-Pull-ups (if you cannot complete 5 full pull-ups, do 5×3-second lowers from chin-above-bar, with a 1-minute rest between lowers)
– Cool down with 10–15 minutes of easy aerobic activity.
Session #2: Friday – Hill Circuit—Explosive Power
For this workout, you will use a short, very steep hill, ideally with good footing so you’re not slipping around and can apply force to the ground. Follow the entirety of the warm-up to ensure your muscles are ready for the exercises; shortcutting this portion can result in injury!Warm up with 15 minutes of light aerobic activity, ideally running, finishing at the base of your chosen hill.
-Now do 3×20 seconds of light bounding, increasing the intensity each time from moderate to high through the course of the repeat. Rest 1 minute between each one.
WORKOUT: Take a 2-minute recovery between each repeat of each exercise. This recovery is essential because it allows the explosive fibers to recover and fire at maximal effort for each repeat.
– 3×6 frog hops: Stand with feet together, drop into a deep squat, then explode forward, seeking to jump as far up the hill as possible. Reposition and repeat for each jump.
– 3×6 single-leg jumps (each leg): Jump as far as possible on each leg for six jumps, then switch.
– 4×12 seconds bounding: Maximal effort, using poles and trying to explode off each foot in a striding motion, seeking to bound as far as possible with each stride
Cool down with very easy running for 10–15 minutes.
Phase III: Muscular Endurance (ME)
After laying the groundwork for several weeks with the preceding sessions, it’s time to put all that foundational strength to use in a more specific manner. Enter muscular endurance, a form of strength that refers predominantly to the fatigue-resistance of the muscles, and in particular we’re interested in those aerobically-inclined fast twitch muscle fibers that propel you faster uphill. The more these fibers can withstand fatigue, the longer you can go at a given rate. Muscular endurance can be trained either “locally”, using exercises which target a focus muscle group (e.g. box steps or squat jumps), or “globally”, which involves doing a total movement like running uphill or skiing, utilizing intervals or added weight or another means of resistance to induce fatigue.
This form of strength is incredibly powerful in how applicable it is to mountain sports, but be warned, it also taxes the athlete and requires a strong base and careful recovery. Go into each ME session rested and well fueled, and monitor your recovery in the subsequent days, taking care not to overload your system while your body adapts to these sessions.
Like many strength workouts, the exercise possibilities here are virtually unlimited—get creative and play around with different movement patterns and loads. There’s no magic formula, and countless athletes find success with this program across a range of sports. While the plan progresses for 12 weeks, you will likely see decent gains in at least 5–6 weeks. The most important guideline to follow is to start modestly: Applying too heavy of weights (if at all, to begin), or beginning the jumps too explosively, will result in agonizing soreness in the days to follow—or worse, an injured muscle.
Session #1: Tuesday – Local Muscular Endurance
Warm-up: 15 minutes of easy aerobic activity
Part 1: Core
Complete 2 circuits of 10-12 repetitions (or 45-60 second hold for isometrics like plank) of the following exercises. Add weight as needed to make each set challenging but doable with good form.-Windshield wipers
-Push-ups
-Kayakers
-Front plank
-Side plank
-Bird dog
-Mt. Climbers
-Hanging knee/leg raises
Part 2: ME Workout
Complete 2x 6 sets of 10 repetitions of the following exercises, on the minute.* *Start your watch and complete 10 reps, then rest for the remainder of one minute before doing another set of 10. Complete all 6 sets of 10 for a given exercise before moving to the next exercise. Allow 3 minutes rest between exercises and 5-10 minutes rest between circuits. Use a cadence of around 1 rep/1.5 – 2sec for each exercise. Begin the first workout with no added weight, and consider adding 5-10% bodyweight for the next workout.
-Squat jumps (in place; no horizontal movement)
-Box Steps (do all 10 reps on one leg then switch)
-Push ups
-Lateral hops (place broomstick or other low obstacle on the ground, and hop double-footed from one side to the other)
Session #2: Hill Power Circuit
For this workout, you should use a short, very steep hill. The surface should be firm and not too slippery as you’ll be putting down a lot of force and don’t want to slip. Most importantly, complete a comprehensive warm-up before starting the exercises. If you feel any twinges or tightness during them, stop the workout in order to prevent injury.Warm up with 15 minutes of easy aerobic activity, ideally running or hiking, and finish at the base of your hill. Then do the following:
– 3×20 seconds light (75% explosiveness) bounds, or “moose hoofs,” with 90 seconds of restCircuit: Start with 2 circuits for your first workout (each should last around 4 minutes), and then add another round for the next session as you get more comfortable with it. Adding more circuits and (to an extent) increasing the duration of each “station”can enhance the workout.by Additionally, you can wear a small weight vest for more load—start with 10% of your body weight—during the circuit.
The overall intensity for the circuit should be around your anaerobic threshold (AnT), but allow your heart rate (HR) to come up naturally through the course of the circuit instead of trying to “peg” it from the beginning.
CIRCUIT:
– 20 seconds running
– 10 air squats
– 15 seconds bounding
– 15 In ’n’ Outs
– 20 seconds running
– 6 double-footed frog hops
– 10 seconds bounding
– 30-second tuck squat (hold)
– 30 seconds running
– Very easy jog down to the bottom
– Recover 2 minutes before starting the next circuit
The above represents just a sampling of the many ways in which you can approach strength training for skiing. If you distill it down, you’re looking to target three main components: good mobility in the hips and ranges of motion in the working joints; a strong core complex to support the upright movement and stability for descending; and muscular endurance to sustain muscle output over longer durations and with heavier loads (vertical gain, added pack weight, etc.). These components can be trained in myriad ways depending on the time of year, your current fitness and abilities, and target objectives. As with any training program you want to employ patience and a long-term, progressive approach. Start with the foundation and build upward, and recognize that with each subsequent year or macrocycle of training, you’ll see stair-stepped improvements in your strength.
Sam Naney grew up in the North Cascades of Washington State, and dedicated much of his young life to Nordic ski racing. He attended Dartmouth College where he earned a degree in History, skiing four years on the varsity squad before graduating and commencing a post-collegiate career, racing domestically and internationally until 2014 when he retired from racing to begin his coaching journey.
After five years working with his own former coach Scott Johnston at Uphill Athlete, where he was most recently the Director of Coaching, Sam now serves as Program Director for the Methow Valley Nordic Ski Team, and also co-owns and operates Cascade Endurance with his wife Alison, offering endurance training resources and events across the Pacific Northwest and beyond. They include The Fifty aspirant, Cody Townsend, as a client. When he’s not chasing new lines in the mountains by foot or by ski, nor chasing little kids around at ski practices, he chases his own two daughters Fiona and Isabella, his wife and their Siberian Husky across his home range.