Thanks to Dynafit for sponsoring this Tech Tip. They’re psyched to make sure people are in the right gear and know how to use it.
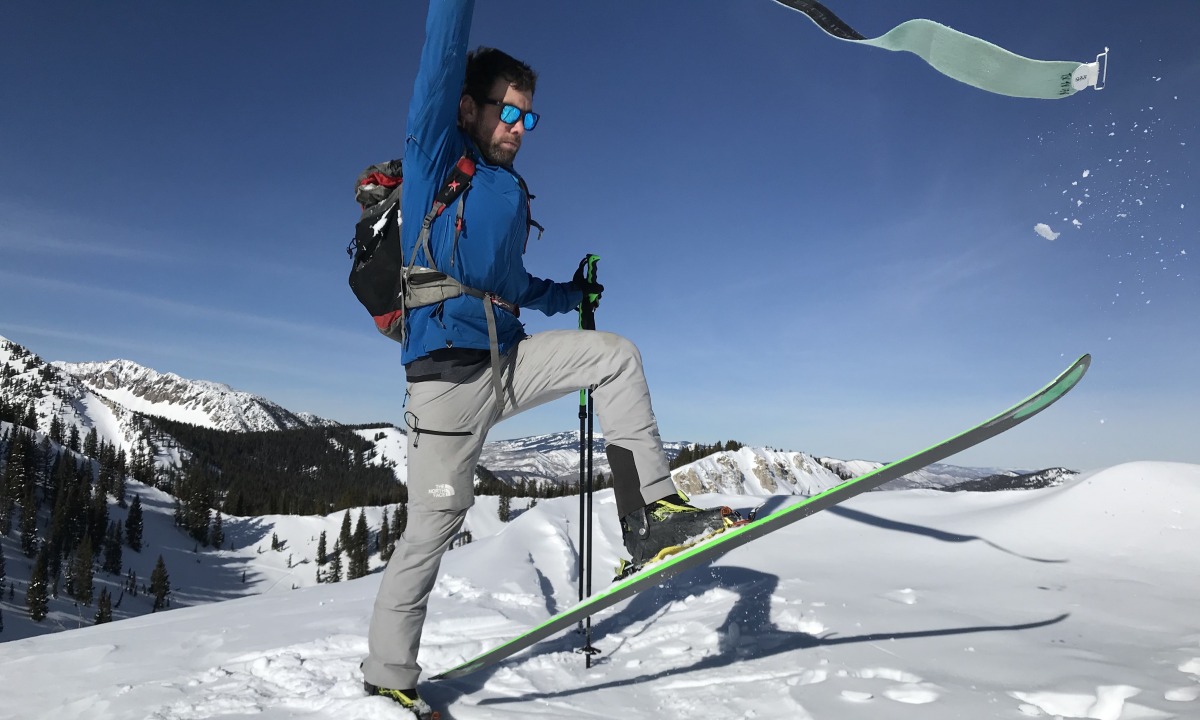
Really flare out that free-flying skin for style points.
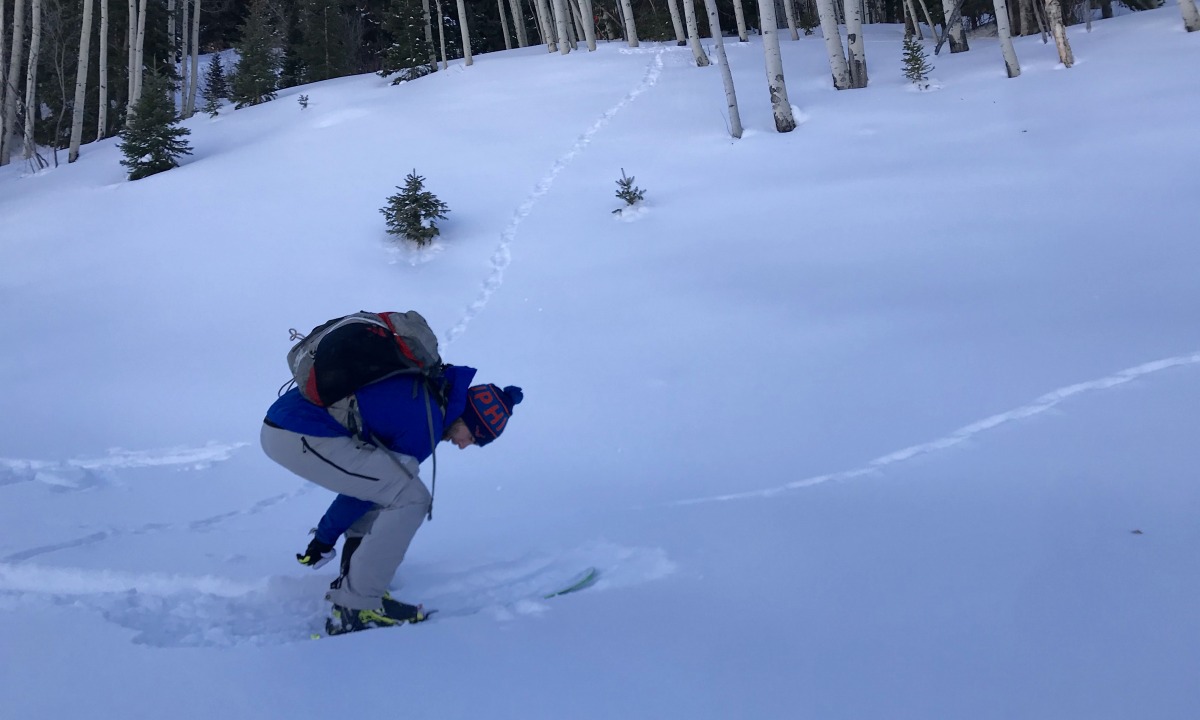
Efficient transitions = more laps = more fun
Transitions are an essential element of ski touring. An efficient one leaves more precious time for skiing while a botched one could result in frozen skins or fingers, or a ski careening down the mountain and disappearing forever in cloud of cold smoke. There is a wide spectrum of transition speeds and tactics. Depending on the situation I have found myself as an outlier to both.
As a ski mountaineer racer I have flashed through an uphill to downhill transition in less than 20 seconds (and have even been known to drill this on the carpet at home). On a recreational spring tour, the same transaction could take upwards of an hour as beverages are cracked and the sun creeps around a cirque to cast rays on next aspect to be skied. No matter what pace you move at in the mountains, your transitions can be and important piece for safety and comfort.
Be systematic
Like all procedures in the mountains both your uphill and downhill transitions should be done the same way every time. There is nothing worse than working your butt off to get to the top of a ski line only to realize with dismay that your boot was left in walk mode for the entire descent. I figure I ski technical terrain poorly enough because of my own body mechanics; there is no need to have the equipment working against me too. Coming up with a ritualistic way of handling your transitions will ensure better speed and efficiency and that you don’t miss a step.
In all below advice the obligatory steps of, 1) summit high fives 2) victory beers and or picnic 3) selfies that you may or may not post to social will be omitted for brevity’s sake. Please deploy these when necessary.
A word about layering
Adding layers for the colder action of skiing downhill is essential. This is the first step in the transition before your sweat from excursion starts to freeze. On a normal backcountry day I will add my layers from a packed down spot right at the transition. If a summit or ridgeline is involved I will start my transition before gaining the high point. Taking a minute to put on your layers before you need them is a great way to avoid exposure to winds and cold temps after topping out.
Taking skis off: uphill to downhill transition
Whether you transition with skis off or on, always start by putting your boots and bindings in ski mode.
This is where many people start when getting into the sport.
1. Find a flat spot. Or by taking the extra minute to tamp down one with your skis.
2. Remove your skis one at a time.
3. Put your first ski into ski mode. If you are using ski stoppers this will engage the brakes BEFORE setting them down or removing the skin. (Seems easy, but I have seen more than one ski fly down the mountain and ruin someone’s day).
4. Now that the brakes are engaged, remove the climbing skin. I prefer to keep my skins always stuffed into my jacket above the waist belt of my backpack. The warmer the skis remain the better chance they will stick when you need them again.
5. Set the first ski in the snow upside down. Take a little extra time to wiggle it into the snow. You can also bury the tails in a slope if it’s steep. It is important to practice this step of putting the ski down binding first even if you are using brakes; there may be a time when you don’t have them.
6. Repeat above steps for second ski.
7. Place boots into ski mode and flex liberally. Sometimes ice jammed in the walk mechanism will give you a false positive. It’s best to test this before your first turn is at hand.
8. Step into the toe of your binding and lock and unlock your toe several times to clear snow and ice from the pin holes. Make sure to return the lever to ski mode at the end of the cycle.
9. Swing your ski back and forth on just the toe pins. This is important to make sure you have a firm connection.
10. Step into the heel of the binding.
11. Enjoy hard earned turns
Skis on: uphill to downhill transition
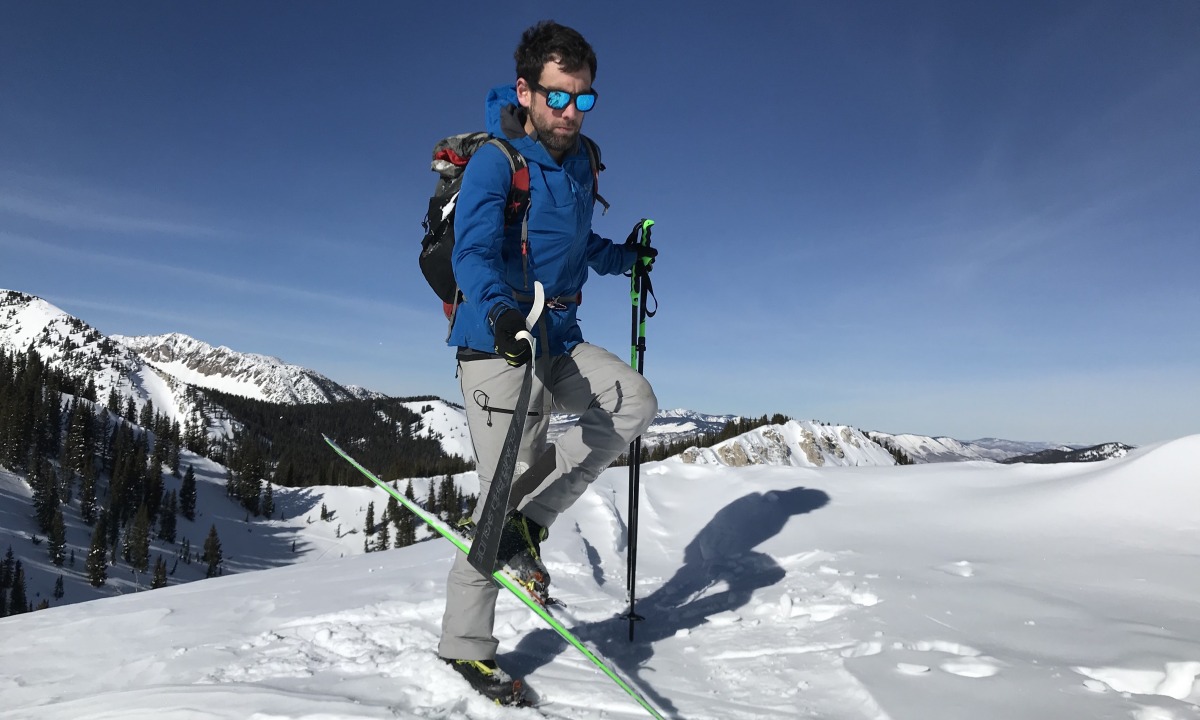
Although some people see this as flashy or race oriented I would suggest anyone getting into the sport spends some time in the comfort and warmth of a living room practicing this technique. Once you have it down, it removes many of the above steps designed to trouble shoot icing in your pin holes or run away skis.
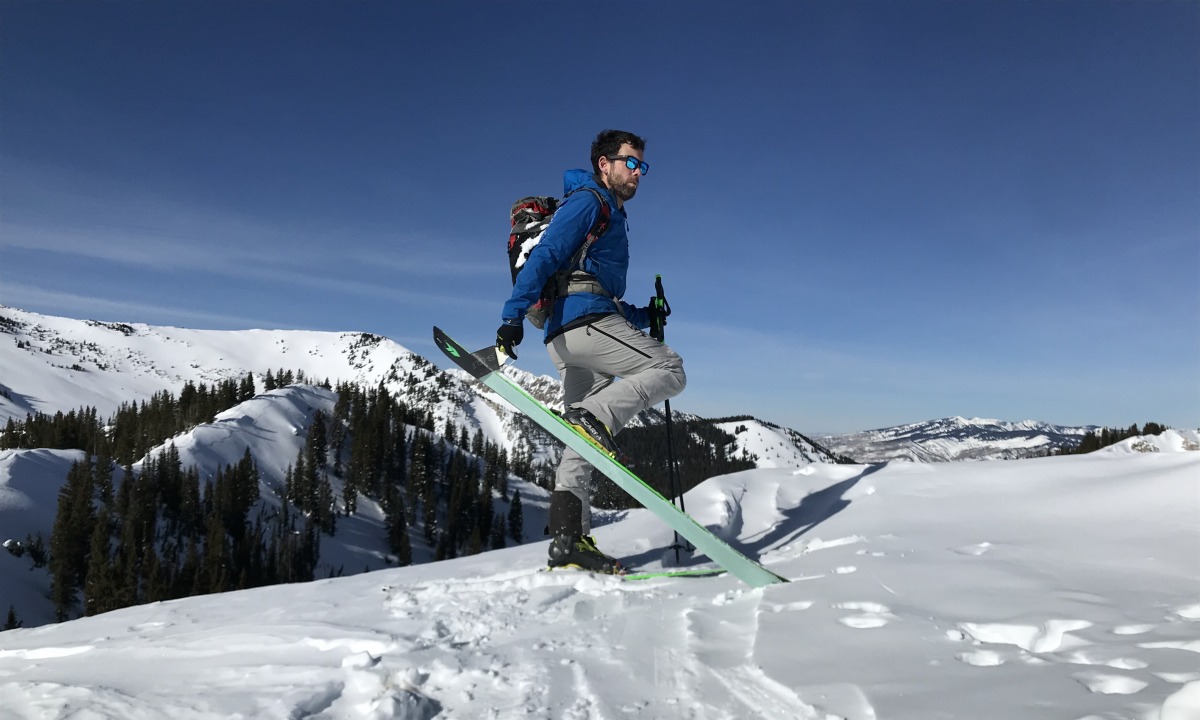
1. With skis on, reach down and turn or flip both bindings into ski mode.
2. Flip both boots into ski mode.
3. Stomp down to engage both heel towers.
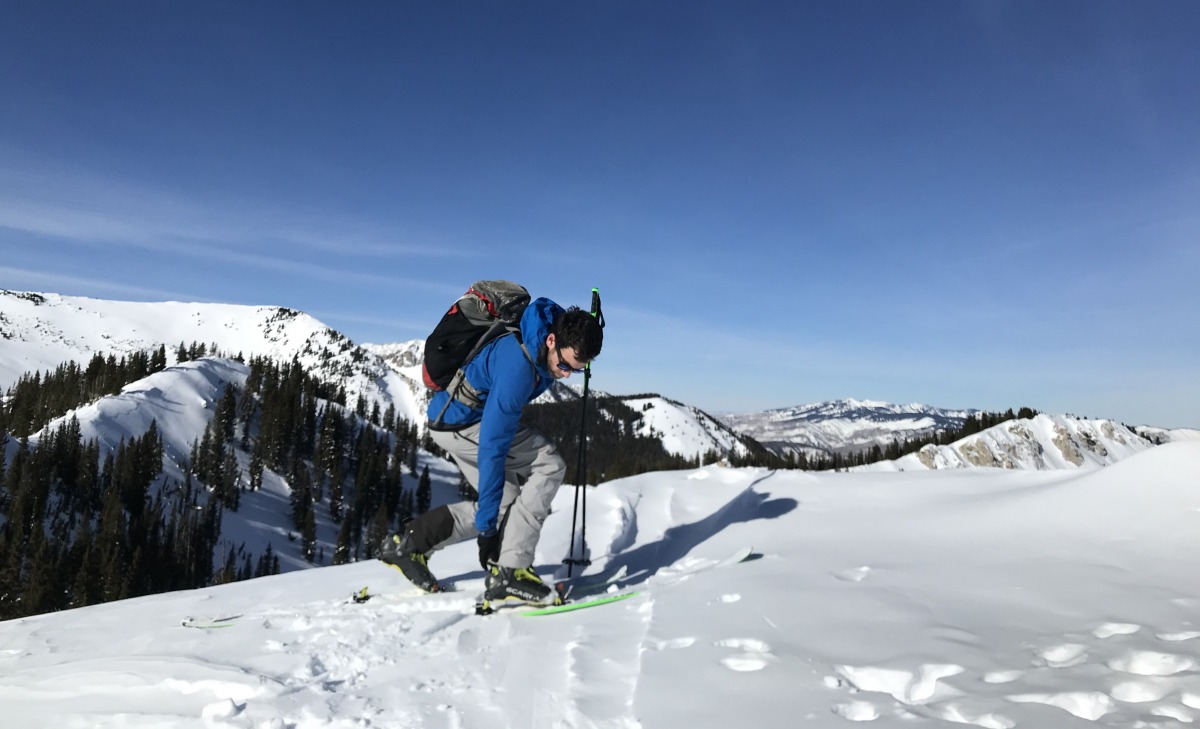
4. Remove Skins. Now the ski ballet really begins. Using a pole for balance I like to bring my downhill ski back so the tip is in the snow. Then I reach back to unclip the tail of my skins and in one sometimes even smooth motion I rip the skin forward on the outside of the ski while sliding my ski backwards. Note: If you have a fancy Dynafit ski or other lightweight ski with a tip notch, it is far easier to remove the skin before locking your heels down in Step 3.
Option 1: reach back to the tail of your ski and rip forward while simultaneously bringing the ski back.
5. Repeat Step 4 with other ski. On steep snow I like to pull the uphill leg cross technique. While balancing on the downhill leg, Lift your uphill ski and cross it in front of your downhill leg. With your opposite hand remove the tail clip and rip skin down the inside edge of your ski. Confused yet? Videos TK.
6. Fold skins, stuff into jacket, and enjoy.
Option 2: bring the ski and ski across the opposite leg, grab the tail clip and rip forward while simultaneously bringing the ski back.

Keeping your skins inside your jacket will ensure they stay warm and happy for the next uphill.
Downhill to uphill transition
This is usually done first thing in the morning straight out of the car but for multiple lap skiing you will have to do this out in the field.
To start your uphill transition, put your boots in walk mode.
1. Begin by packing down a flat spot in the snow. You can be swallowed by deep snow and get unpleasantly wet, so take a minute to do this right.
2. Flick your boots into walk mode.
2. Remove skis one at a time. It helps to keep one on at all times to prevent the other from slipping away.
3. Attach skin.

Once you’re out of the ski, peel your skins apart. Some people peel them all the way apart, others use the ski to provide counter tension.
4. Put binding into touring mode. (See the recurring theme of keeping binding and brakes in ski mode whenever skin is off?)
5. Step into binding.
6. Repeat Steps 1 through 4 on second foot
7. Lock toes by pulling up both tabs on tech bindings.
8. Enjoy the uphill.
These are the steps that work for me and the closer I follow, them the less there is to go wrong. There are a thousand variations on the ski touring transition so please leave your additions in the comments below. If the reader gains one piece of advice its find a system that works for you and practice and repeat. Details and time-saving may seem small, but better efficiency adds up to more kick turns on the uptrack and powder turns on the down.
Note: we covered transitions for splitboarders last week. Check that out also if you have spliboarders in your group.
Doug Stenclik is an avid skimo racer and ski mountaineer who lives for sharing the amazing sports of ski touring and splitboarding. Since his first time on skins he was hooked and the obsession has taken him all over the United States and the world pursuing the human powered ski turn. He founded Cripple Creek Backcountry in 2012 and took over the Colorado Ski Mountaineering Race Cup in 2014 to spread knowledge and the love of the sport. In 2019 he took a step back from the ski shop and race promoter life to become a publishing partner with WildSnow.